-
Shop
- Paint Colours
- Original Artisan Range
- The Lazy Range
- Al Fresco Inside/Outside Range
- Chalk Wall Paint
- Chalk Wall Paint Samples
- Trim Paint
- Metallics
- Easy Crackle
- Frenshimmer
- Frensheen
- Brushes
- Sealants, Top Coats, Waxes
- Sugar Soap
- Stencils
- Accessories
- Frenchic Apparel & Bags
- Colour Charts
- Gift Cards
- Product Range
-
- Browse by Colour
- Paint Colours
-
Projects
- Interior
- Ceramic Tiles
- Furniture
- Interior Doors
- Kitchen Cupboards
- Nursery Furniture
- Radiators
- Skirting Boards
- Wooden Floors
- Wall Paint
- Exterior
- uPVC Doors
- uPVC Windows
- Cladding
- Decking
- Exterior Doors
- Fascia Boards
- Fencing
- Garage Doors
- Garden Furniture
- Garden Shed
- Rooms
- Bathroom
- Bedroom
- Dining Room
- Hallway
- Home Office
- Kitchen
- Living Room
- Nursery
- Toilet
- Utility Room
- Finishes
- Matte
- Metallic
- Satin
- Weatherproof
- Washable
- Frenchic TV
- Samaritans
- Find A Stockist
- Become A Stockist
- Tips & Help
- Sign in


How to Paint a Scallop Effect on Walls
How to Paint a Scallop Effect on Walls
If you’ve seen the latest interior trend of scalloped walls all over Instagram and wondered how to recreate it – you’re in luck!
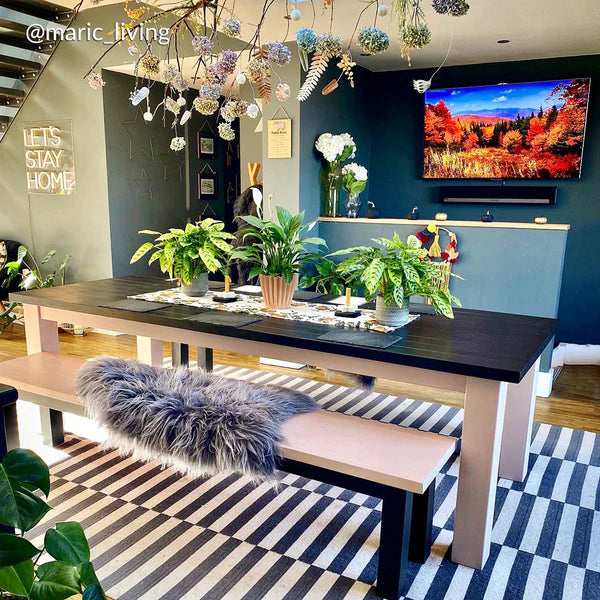
This design feature adds a unique and refreshed look to a room and is ideal for adding zoned areas in your living spaces. Moreover, kids love this effect in bedrooms as it provides a backdrop for creativity and fun.
At first look, painting scallops on a wall seems complicated. But fear not, we can show you how in a few easy steps with help from our brand ambassador, Craig Phillips.
What you need
- Paint (Craig uses Frenchic’s Chalk Wall Paint in Seagull and Gentlemen's Club over a Sage Froth base)
- Paintbrush
- Roller
- Spirit level
- Pencil
- Plate
- Masking tape
- Cardboard
- Measuring tape
- Scissors
Decide the height you want the scallop effect
The scallop effect can be created at any point on your wall. So, first, decide on where you want to place it. In the video, Craig measures 1,000mm or one metre in height on the wall. However, you can go higher or lower depending on your preferences. You can read more about the different options for half and half walls in our blog post.
At this point, grab your pencil and make a small mark. Then using the spirit level, draw your first line and then take this through to the corners of the room. Once you have your straight line drawn, stick masking tape around 1mm above the pencil line. Craig uses one piece of continuous masking tape for consistency. You can rub your pencil line off with a damp cloth when the tape is in place.
Choose your paint colour
The scallop effect creates a two-tone look on your wall, so choose a shade that complements your original wall colour. The beauty of this interior design feature is that it works well with lighter tones or contrasting bold colours. So, it gives you tons of options for creativity.
Painting the wall
Take your paint, give it a little stir with a paintbrush and pour it into your roller tray. Craig uses Seagull Chalk Wall Paint directly out of the tin.
Before you start with the roller, cut in the paint along the masking tape line and along the edges, as shown in the video. You can also mask up the skirting board to get a clean finish.
You can now grab your roller and start applying the paint. A handy tip for making this process easier is to spread it in a cross pattern around a one-metre square, then cover this area in an up and down motion. This helps to distribute the paint evenly, giving you great coverage.
When you’ve painted the area, remove the masking tape to showcase a perfectly straight line. Leave to dry for two hours and apply a second coat. While waiting, it’s time to prepare the plate for your scallop pattern. Again, get your masking tape and place a line across the middle of the plate. You can measure this exact or do it by eye. Of course, this plate then provides the template for your pattern.
Drawing the scallop pattern
When your paint is dry, it’s time to draw your scallop design.
As Craig explains in the video, the starting point for this is important. If you’re painting one wall, for example, beginning in the centre will give your pattern a symmetrical look. However, if you’re continuing around a wall, you can start from one side and work your way along.
When you’re ready, position your plate against the wall, but make sure the masking tape is in-line with the painted line on the wall. Next, draw a line around this and repeat until your reach the corner.
If you’re lucky, the plate will fit perfectly up to the corner. But, in reality, you’ll probably need to draw a half or quarter section of the plate to continue around the wall.
Thankfully, no plates need to be harmed – Craig has a handy trick to make it super simple. Grab some cardboard, place your plate on top and draw around it to create a template. Cut this in half and double-check it’s the same size. Otherwise, you might end up with wonky scallops.
To get it positioned perfectly, you’ll need to measure the length of the section left on the wall and transfer it to the template. You can bend it at this point and get a perfect scallop that folds around the corner.
Painting the scallop pattern
Painting the scallop sections might seem daunting. However, with a little practice and good technique, it’s surprisingly achievable. The best advice is to get plenty of paint on your brush and sweeping it slowly under the line. Then gradually work towards the line for a smooth finish. For the corner sections, you may need to use a smaller brush for precision. As before, leave the paint to dry for two hours before applying a second coat.
Creating multiple scallop patterns
If you want to create multiple scallop sections within the design, Craig shows you how with a three-scallop look using different colours. This process uses the same technique as above. You can also paint down to the skirting board, as Frenchic’s paint is suitable for many types of surfaces.
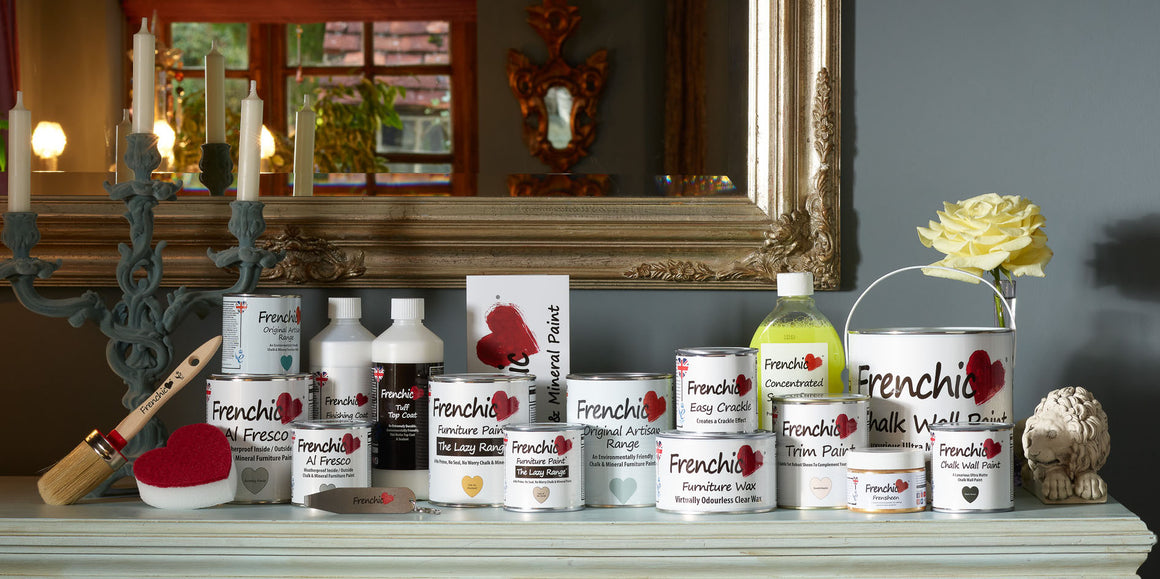
Choosing the best paint for scallop designs
Scallop designs are a top interior trend to incorporate into your living spaces, and they’re easier to paint than you might think. To simplify the process, choose Frenchic’s popular Chalk Wall Paint for a smooth and stylish finish.
Our Chalk Wall Paint is perfect for any room in your home. There are tons of colours to pick from, including favourites such as Apple Barn and Ducky. You can also scrub marks away, making it ideal for kids’ rooms – with EN71-3 and UKCA certification meaning it’s safe to use on kids’ toys. Best of all, it’s self-priming and self-sealing, so you can paint straight on with less preparation time and enjoy a durable, long-lasting finish.


Featured In


Sign up to get emails on the latest sales, new releases and more …


Copyright © 2023 Frenchic Paint. All Rights Reserved. Registered Address: 1 Chamberlain Square Cs, Birmingham B3 3AX. Company No: 09025388
Creative Web Co