-
Shop
- Paint Colours
- Original Artisan Range
- The Lazy Range
- Al Fresco Inside/Outside Range
- Chalk Wall Paint
- Chalk Wall Paint Samples
- Trim Paint
- Metallics
- Easy Crackle
- Frenshimmer
- Frensheen
- Brushes
- Sealants, Top Coats, Waxes
- Sugar Soap
- Stencils
- Accessories
- Frenchic Apparel & Bags
- Colour Charts
- Gift Cards
- Product Range
-
- Browse by Colour
- Paint Colours
-
Projects
- Interior
- Ceramic Tiles
- Furniture
- Interior Doors
- Kitchen Cupboards
- Nursery Furniture
- Radiators
- Skirting Boards
- Wooden Floors
- Wall Paint
- Exterior
- uPVC Doors
- uPVC Windows
- Cladding
- Decking
- Exterior Doors
- Fascia Boards
- Fencing
- Garage Doors
- Garden Furniture
- Garden Shed
- Rooms
- Bathroom
- Bedroom
- Dining Room
- Hallway
- Home Office
- Kitchen
- Living Room
- Nursery
- Toilet
- Utility Room
- Finishes
- Matte
- Metallic
- Satin
- Weatherproof
- Washable
- Frenchic TV
- Samaritans
- Find A Stockist
- Become A Stockist
- Tips & Help
- Sign in


How to Build, Prepare, and Paint a New Garden Shed
How to Build, Prepare, and Paint a New Garden Shed
A garden shed can be an attractive as well as functional addition to any garden. If you would like to learn how to build and decorate your own shed from scratch, read on to discover our top Frenchic tips for creating a pretty and practical shed that will provide the perfect place to store all of your garden equipment. Let's get started!
Location, location, location!
If you have purchased a brand-new flat-pack garden shed like the one in our video, the most important thing you need to sort out first is where you would like to position it in your garden. A garden shed needs a sturdy, dry surface to rest on, so if you would like to place it on the grass, you may wish to place some concrete slabs or blocks underneath to prevent moisture rising up from the ground. As Craig planned to have his shed on his driveway, he was able to prepare a movable base on a frame, with castors which allow for easy movement.
Building your shed step by step
- Once your base is prepared, you can begin screwing the panels of the shed into place. Ask a friend or family member to help you, as this is definitely a two-person job!
- Start with the back panel and screw it into the base, then position one of the side panels in place against it and screw it to the back panel. Once this is done, you can then add additional screws to fix the side panel to the base. Do the same for the other side.
- The next task is to add the front panel. With the help of your assistant, hold it in place and make sure that it's level with the sides. Once you are happy with it, you can screw it to both side panels and to the base.
- When drilling the screws in, it is recommended that you drill a pilot hole first, as this will prevent the wood from splitting. It will also make it easier to insert the screws.
- Now that the frame of your shed is in place, it's time to add the roof! Before you do this, it is recommended that you line the tops of the frame with a multi-use adhesive, to help the roof stay in place when you put it on. Then all you need to do is carefully place the roof into position and screw it to the frame. Your shed construction is almost complete, but Craig advises you not to attach the door or trims at this point. Now it’s time for the preparation…
Prepping your shed for a perfect finish
The very first thing to do when preparing your shed is to give all the exterior surfaces (not forgetting your set-aside trims and door) a thorough sanding to remove any very rough patches. This will help your paint apply more easily.
Start off with lower grade sandpaper, and then increase to a higher grade as you go along to create a smoother, more even surface that will allow for good adhesion from the paint.
Applying your paint
Now that your shed is prepped, it's time to paint! Before you start, always make sure the timber is completely dry and the weather forecast is fine and dry for the next few days. Craig is using Swanky Pants and Smudge from the Al Fresco range.
There are three different methods you can use to paint your garden shed. We have used all three in our video, so you can see how they work.
1. Paint brush
Craig uses a Frenchic brush to paint the edges and corners of the shed. The set-aside trims are most easily painted with a brush – paint all sides to ensure good weatherproofing! For the door, don’t forget the edges! Craig chose to use a contrasting colour for these parts of the shed, to make them stand out in a stylish statement!
2. Radiator roller
Once the edges and corners are done, you can choose to move on to a small fluffy, radiator roller (foam versions are not so efficient for painting timber). This method is just as easy as using a paint brush, but allows you to cover a greater surface area quicker. To get started, simply pour your paint into a tray and coat your trusty roller. Apply the paint evenly over remaining areas of the shed.
3. Hand-held paint spray
The third method you can use is a hand-held paint spray. If you use this tool, you must dilute the paint first, particularly if you are using a high-quality paint like those we create at Frenchic. To dilute, add 10-15% water to the reservoir of the spray and then gently pour in your paint. Stir it all together so the water and paint are thoroughly combined. Screw the lid on tightly, click and connect the pieces of the spray into place – and you're ready to go!
When using a paint spray, move evenly from side to side of the surface you are painting, holding the nozzle between 50 to 100mm from the surface. Craig applies two thin layers consecutively – the first from side to side, the second up and down, to form a single coat with good coverage. He then leaves this coat to dry. Further coats, applied in this way, will be needed.
4. Good coverage
Making sure you have sufficient coverage is particularly important for exterior projects like sheds. Always refer to the instructions on the tin to make sure you apply enough coats to ensure the paint can do its job properly and protect the wood!
Because bare timber is porous, it can suck in the first coat of paint to a certain extent. The second coat will be easier to apply but if the finish still looks patchy, you might need a third coat.
If you have used a sprayer, and thinned the paint, you will certainly need an extra coat or two to ensure you have good coverage.
The finishing touches!
Once the shed, doors and trim have all dried, it's time to fix the doors and trim into place. With the help of your friend or family member, you can add the hinges to the door frame and screw the doors into place. Make sure that they swing smoothly, and that they are nice and level with the frame.
Next, you can use your multi-use adhesive and apply it to the shed joints where the trims will sit and also to the back of the trims themselves before fitting them into place. Add some screws for extra strength and durability.
Last but not least, it's time to use the adhesive and screws to fix felt onto your roof to provide extra protection from the elements. Once it is fixed on, tuck the edges under and clamp them into place until the adhesive is dry. And now you're done, and your gorgeous new garden shed is complete!
Choosing the ideal paint for your garden shed
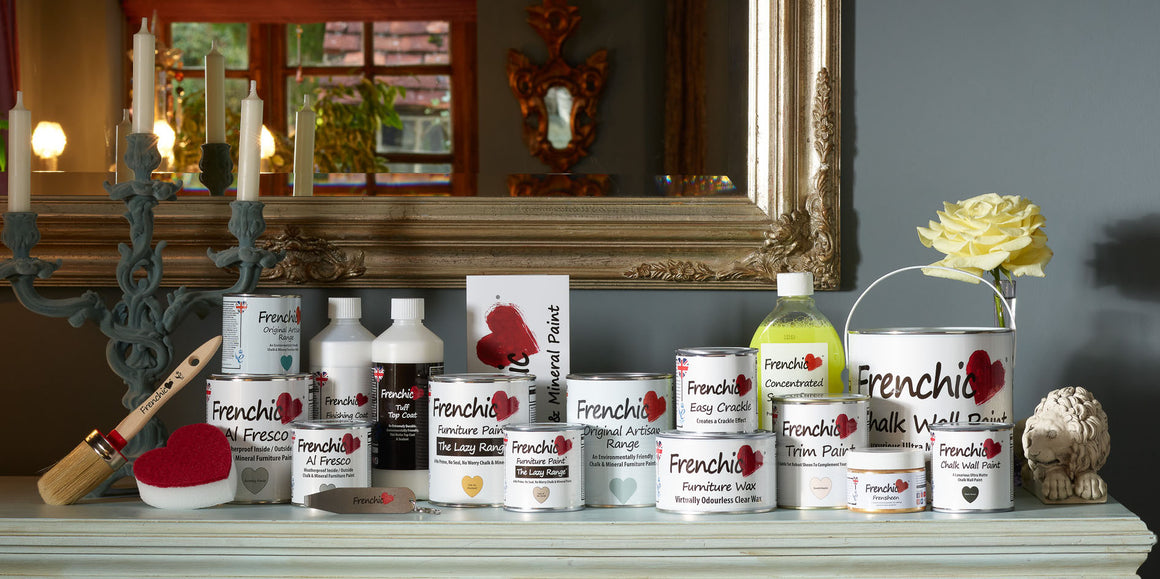
We hope our video and top tips on how to build, prep and paint your garden shed have been helpful. When it comes to choosing what paint to use on your beautiful new shed, why not try something from our Frenchic Al Fresco range? Durable, weatherproof, and environmentally friendly, these luscious paints are the perfect choice for any outdoor building – including your super shed!


Featured In


Sign up to get emails on the latest sales, new releases and more …


Copyright © 2023 Frenchic Paint. All Rights Reserved. Registered Address: 1 Chamberlain Square Cs, Birmingham B3 3AX. Company No: 09025388
Creative Web Co